Enchilada Sauce Recipe (Dried Chiles, Strained and Fried)
Real red enchilada sauce is toasted dried chiles, blended, strained, and then — the step almost everyone omits — fried in hot oil until it darkens and thickens. That last two minutes is the whole difference between a sauce that tastes cooked and one that tastes like wet chile powder. Makes 2½ cups, exactly one tray. The 10-minute pantry version is here too, written out properly.
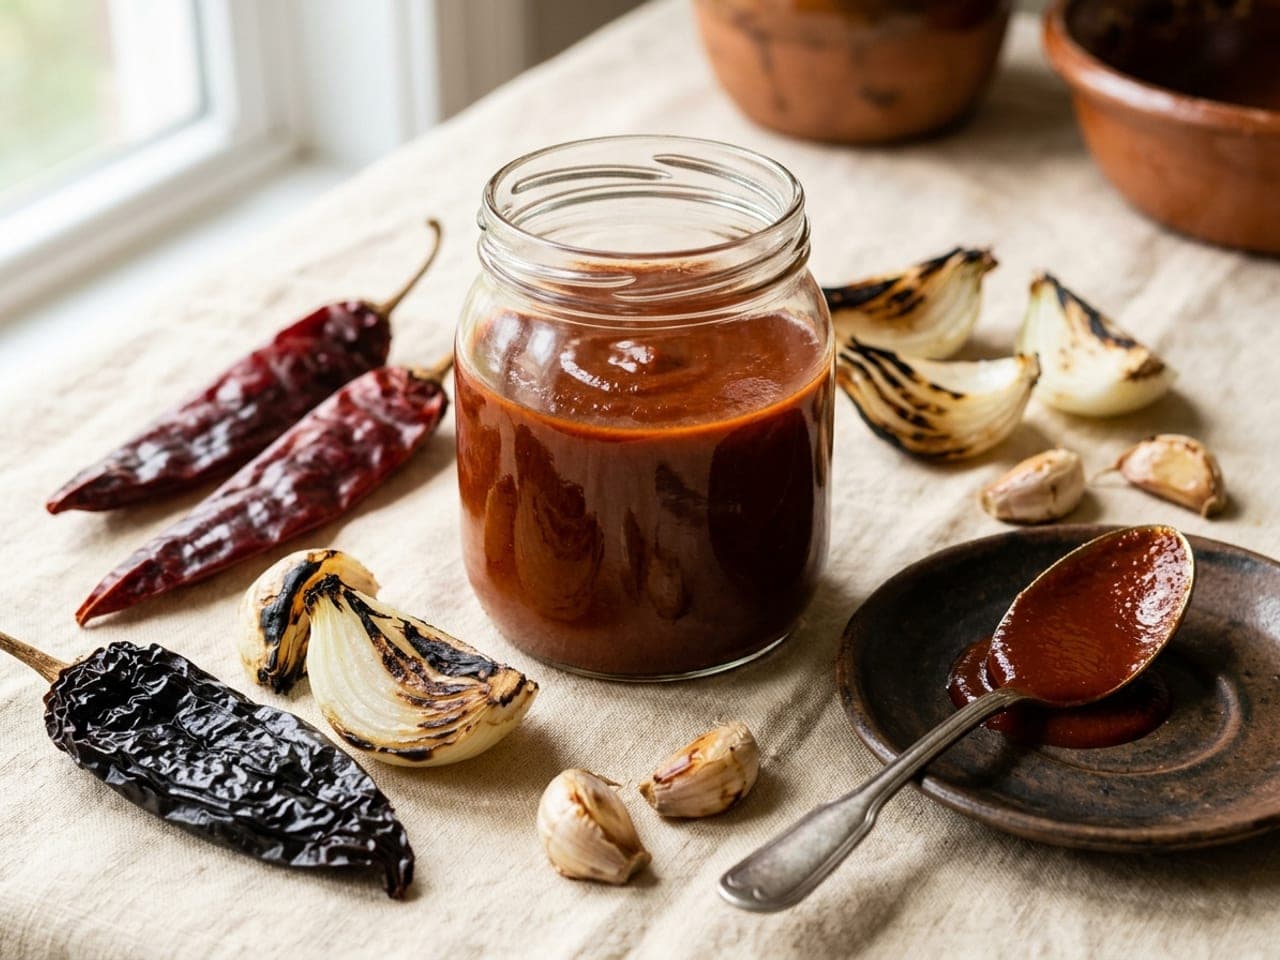
Ingredients
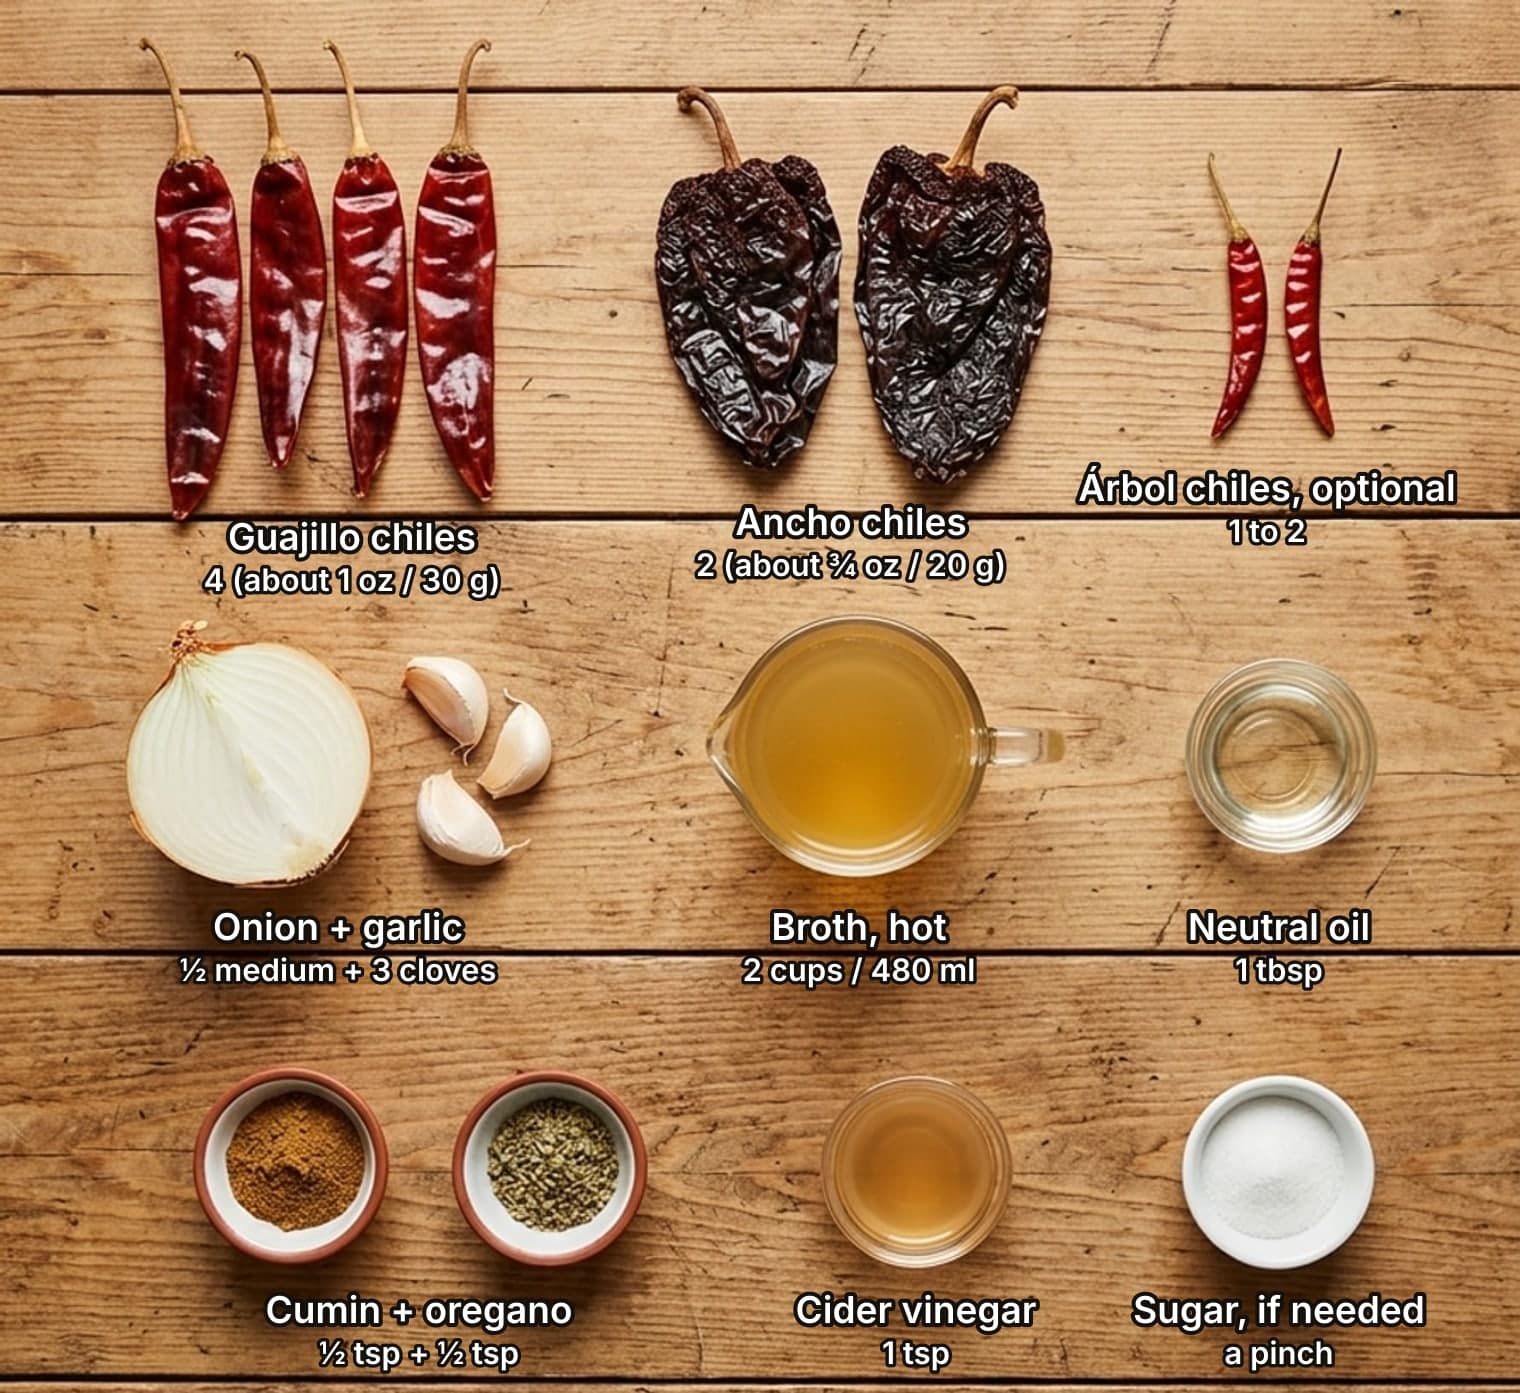
- dried guajillo chiles, stemmed and seeded4 (about 1 oz / 30 g)
- dried ancho chiles, stemmed and seeded2 (about ¾ oz / 20 g)
- chiles de árbol, optional, for heat1–2
- white onion, quartered½ medium
- garlic, unpeeled3 cloves
- vegetable or chicken broth, hot2 cups / 480 ml
- neutral oil1 tbsp
- ground cumin½ tsp
- dried oregano (Mexican if you have it)½ tsp
- cider vinegar or lime juice1 tsp
- salt¾ tsp, to taste
- sugar, only if the chiles are sharpa pinch
Dried chiles, chili powder, or the tin
All three are legitimate, and it helps to be honest about what each is actually for. Whole dried chiles, toasted and rehydrated, give you a sauce with layers — fruit, smoke, a little bitterness held in balance, real body from the chile flesh itself. Chili powder gives you a flat but perfectly pleasant approximation of the same idea in a tenth of the time, and needs flour or tomato to supply the body it lacks. A tin gives you dinner on a Wednesday, and a tin plus five minutes of improvement — a spoon of tomato paste fried in oil, a pinch of cumin and oregano, a squeeze of lime — gets remarkably close.
The one thing worth knowing is that they are not the same sauce with different effort levels. Classic Mexican red sauce is a chile purée: chiles are the ingredient, not the seasoning. American chili powder is a blend built on chile with cumin, oregano and garlic already in it, so a powder-based sauce is pre-seasoned in someone else’s proportions. That is why the two taste different in a way that no amount of adjusting quite closes, and why it is worth making the real one once to know which you actually prefer.
How to make Enchilada sauce
- Stem and seed the chiles. Wipe 4 dried guajillo and 2 dried ancho chiles clean, snap off the stems, tear them open and shake out the seeds and pale veins — the seeds carry bitterness rather than useful heat. Wear gloves if you have them, and keep your hands away from your eyes either way. Want it hot? Add 1–2 chiles de árbol, seeds and all; the guajillo/ancho base on its own is mild enough for children.
- Toast them — and count. Dry skillet over medium-low. Press each chile flat for 30–45 seconds a side, until it smells sweet and toasty and turns pliable. That is the entire window. Chiles that darken, smoke or blister black turn the finished sauce irreversibly bitter, and there is no seasoning that rescues it — this single step is where most homemade enchilada sauce goes wrong. Toast in batches so you can watch them all.
- Soak in hot broth. Cover the toasted chiles with 2 cups (480 ml) of hot vegetable or chicken broth and weigh them under a small plate — they float. Twenty minutes, until they are completely soft and floppy. Taste the soaking liquid before you commit to it: usually it is deeply flavoured and you blend with it, but if your chiles were old and it tastes harsh, blend with fresh broth instead and lose nothing.
- Char the aromatics. While the chiles soak, put ½ a white onion in quarters and 3 unpeeled garlic cloves in the same dry pan over medium-high, turning until they carry real black patches, 5–8 minutes. Dry-charring rather than sautéing is what gives the sauce its background sweetness and a faint smokiness that the chiles alone don’t supply. Slip the garlic out of its skins.
- Blend longer than feels necessary. Chiles, onion, garlic and 1½ cups (360 ml) of the soaking liquid into a blender. Run it for a full 60–90 seconds — long past the point where it looks done. Chile skins are tough, and a short blend is the difference between velvet and grit. Fill the jug no more than half full with hot liquid, hold the lid down through a folded towel, and start slow.
- Strain, and mean it. Pour the purée through a fine sieve into a bowl, working it through with the back of a ladle and scraping the underside of the sieve. What stays behind is skin and fibre; what goes through is the sauce. It is a two-minute job that separates restaurant texture from homemade, and no blender is powerful enough to make it optional.
- Fry the purée — the step nobody writes down. Heat 1 tbsp of neutral oil in the saucepan until it shimmers, then pour the strained purée in all at once, standing back — it sputters hard for a few seconds. This is sazonar, seasoning the sauce: the purée hits the hot fat, the colour deepens from bright red to brick, and the raw green edge cooks off. Stir for 2 minutes as it settles, then add ½ tsp ground cumin and ½ tsp dried oregano and simmer, partly covered, for 8–10 minutes.
- Season and set the consistency. Off the heat, stir in 1 tsp of cider vinegar or lime juice and ¾ tsp of salt, and taste. Sharp or aggressive chiles take a pinch of sugar; flat sauce usually wants salt rather than more spice. Aim for pourable double cream — it should coat a spoon and slide, because it thickens as it cools and again in the oven. Too thick, loosen with broth; too thin, simmer a few minutes more. Makes about 2½ cups (600 ml), exactly enough for one tray of enchiladas.
Safety & hygiene Important
- Capsaicin travels. Chile oil stays on your fingers through a hasty rinse and finds your eyes hours later. Wear gloves when you seed them, or wash with soap and warm water twice afterwards, and keep your hands off your face while you cook. Toasting also throws capsaicin into the air — open a window and don’t lean over the pan and inhale, which is a genuinely unpleasant lesson to learn once.
- Hot liquid in a blender expands. A sealed blender full of hot purée builds steam and can blow the lid off. Fill the jug no more than halfway, take out the lid’s centre cap to vent, cover the hole with a folded towel, and start on the lowest speed before ramping up. An immersion blender in a deep pot avoids the problem entirely, but you will need to strain more carefully.
- The purée sputters when it hits the oil. Adding wet purée to shimmering oil throws hot droplets for the first few seconds. Pour it in from a low angle with the pan lid held as a shield in your other hand, and use a long spoon for the first stir. Reduce the heat once the initial fury dies down.
- Keeps a week, freezes three months. Cool the sauce within 2 hours, then refrigerate in a clean jar for up to a week. It freezes beautifully — a batch in an ice-cube tray, bagged once solid, gives you portions for a single serving of eggs or a half tray of enchiladas. Reheat gently and only once, and discard any batch that smells fermented or fizzes.
3 ways to plate it
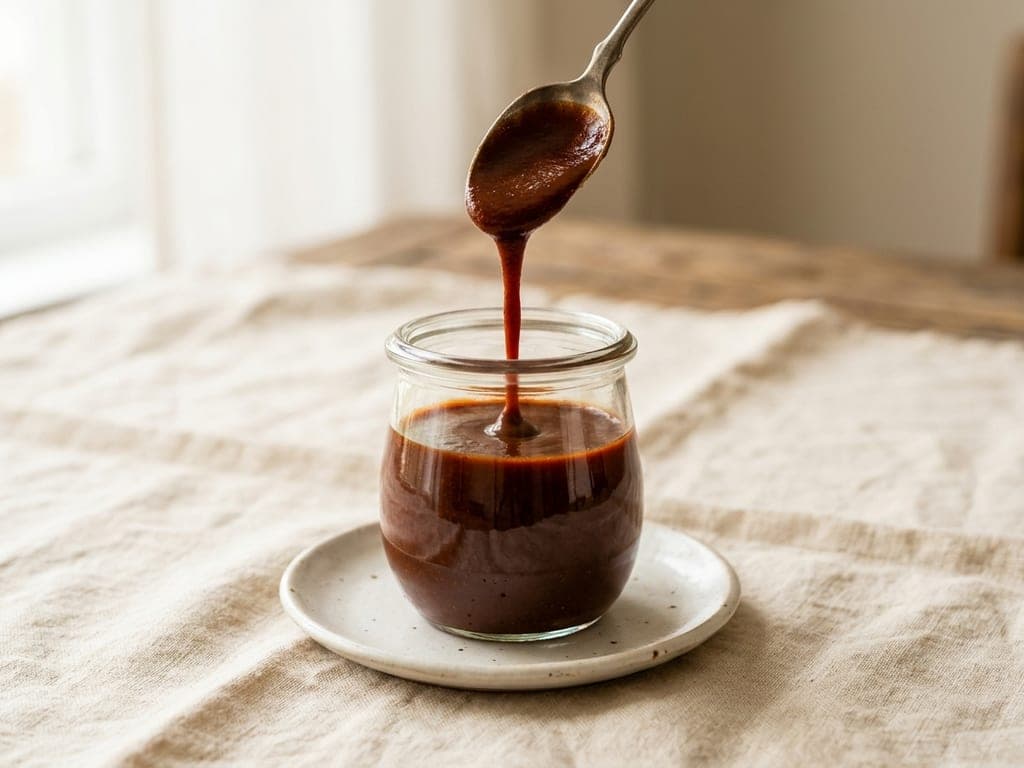
- Fill the jar to about three-quarters — a jar filled to the brim reads as a supermarket product, not something you made.
- Wipe the outside of the glass and the rim before shooting; a smeared jar undoes everything else on the table.
- Lift the spoon slowly and catch the ribbon mid-fall while the sauce still connects to the surface — that thread is the proof of consistency.
- Keep the background almost empty and the light from one side, so the sauce’s surface picks up a single soft highlight.
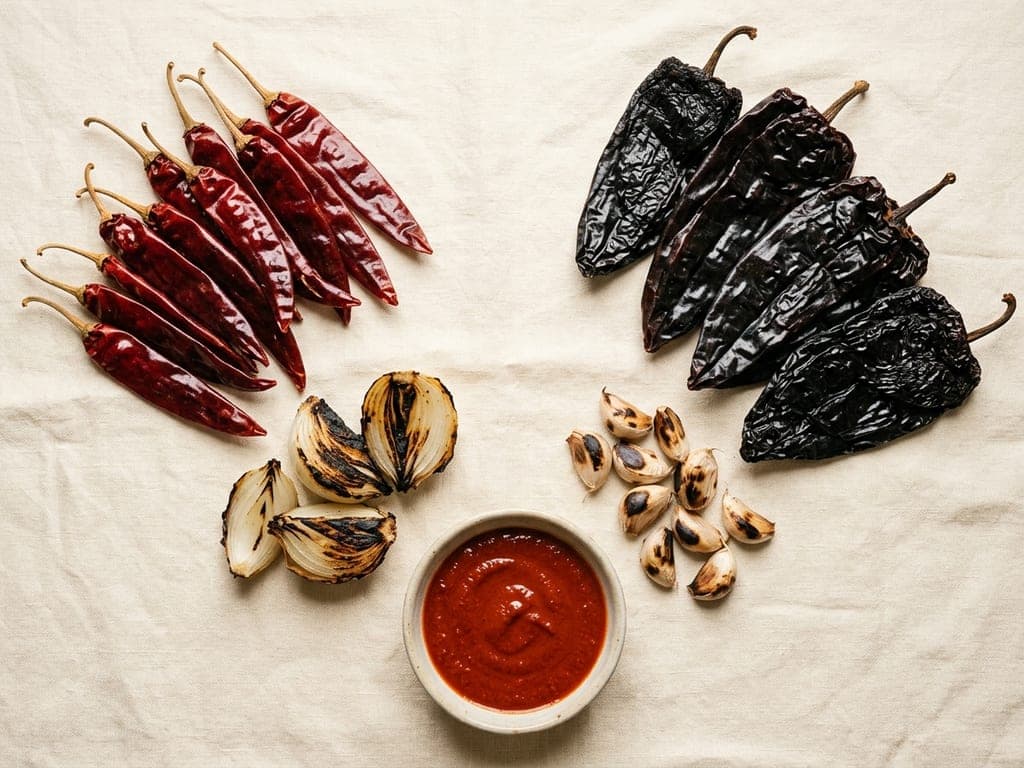
- Sort the chiles by type into two loose fans rather than one pile — the colour difference between guajillo and ancho is the point of the picture.
- Show the char on the onion and garlic clearly; the blackened faces are evidence, not a mistake to hide.
- Put the finished sauce in a small shallow bowl at the front so the eye lands on the result last.
- Shoot from directly overhead on a plain warm surface, and leave real empty space between the groups.
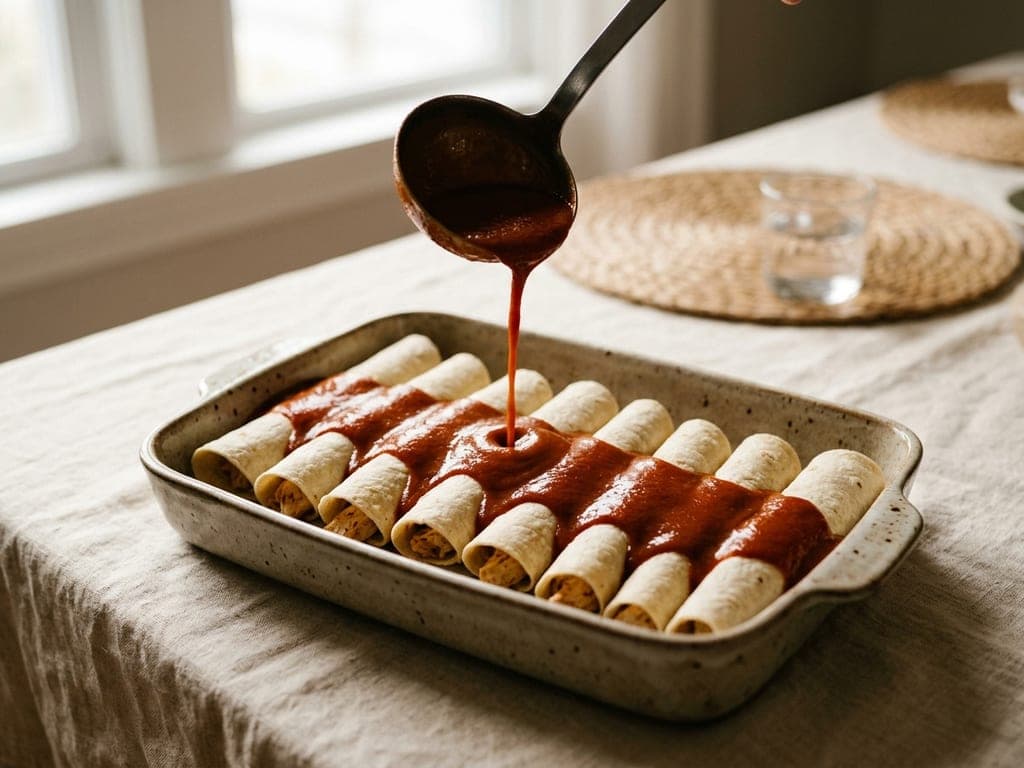
- Pour in one continuous band down the centre of the dish and let the ends of the rolls stay uncovered — the contrast is what makes the shot legible.
- Catch the pour while the stream is unbroken; a stopped ladle looks static and a splash looks careless.
- Have the cheese and garnishes waiting out of frame — this picture is the sauce moment, and adding everything at once muddles it.
- Shoot at a low three-quarter angle so you see both the surface of the sauce and the shape of the rolls beneath it.
The 10-minute pantry sauce, written out
Sometimes the answer is a roux, and this version is genuinely good rather than a consolation prize. Warm 2 tbsp of neutral oil in a saucepan over medium heat, stir in 2 tbsp of plain flour and cook for a minute until it smells nutty. Add 3 tbsp of chili powder, 1 tsp ground cumin, ½ tsp dried oregano, ½ tsp garlic powder and a good pinch of salt, and stir for 30 seconds — the spices need the hot fat, and adding them straight to liquid is why some quick sauces taste dusty.
Whisk in 2 cups (480 ml) of warm broth in a thin stream so the roux doesn’t lump, add 2 tbsp of tomato paste, and simmer for 5–7 minutes until it coats a spoon. Finish with a teaspoon of vinegar and salt to taste. That is 2½ cups (600 ml) of sauce in ten minutes with nothing you had to shop for. It is thicker and more savoury than the chile version and it suits Tex-Mex beef enchiladas particularly well — which is no coincidence, because it is a close cousin of the chili gravy those are built on.
The three ways it goes wrong
Bitter. Almost always the toast. Thirty to forty-five seconds a side over medium-low is toasting; anything that smokes or blackens is burning, and burnt chile bitterness does not cook out or season out. Seeds and veins left in contribute too. If a batch comes out bitter, a pinch of sugar and a little extra salt will mask a mild case, but the honest answer is to start again — the chiles cost very little.
Gritty. Under-blended, unstrained, or both. Chile skins do not break down the way tomato skins do; sixty to ninety seconds in the blender and a pass through a fine sieve are both required, and the sieve is the one people skip because the purée looks smooth in the jug. It never is.
Thin and raw-tasting. This is the missing fry. A blended purée is a raw sauce — bright, sharp, slightly vegetal, and watery no matter how long you simmer it gently. Pouring it into hot oil and letting it sputter and darken for two minutes changes both the flavour and the body, and it is the single technique that most separates a taquería sauce from a home one. It is also why the finished sauce should look brick red rather than tomato red.
Which chiles, and where to find them in Europe
Guajillo is the backbone: bright, tangy, a little berry-ish, barely hot, and it gives the sauce its clear red. Ancho — a dried poblano, wide and wrinkled and near-black — brings sweetness, raisin and a hint of cocoa, and it is what stops a guajillo sauce tasting thin. Four guajillos to two anchos is a reliable house ratio; all-ancho makes a mild, sweet, almost mole-ish sauce, and all-guajillo a sharper, brighter one. Pasilla can replace ancho for something more earthy and less sweet. For heat, chiles de árbol are the small red ones, and one or two is plenty. A single chipotle in adobo adds smoke and heat together, and half a teaspoon of its adobo is a good secret.
In Europe, dried Mexican chiles are stocked by Latin-American grocers, most large Asian supermarkets, and every online spice shop worth the name; a bag keeps a year in a sealed jar away from light. If you genuinely cannot get them, do not substitute Kashmiri or paprika-type chiles and expect the same sauce — go with the pantry roux above instead, which is honest about what it is. And note that “chili powder” in the US means the seasoning blend, while in the UK and much of Europe it usually means pure ground hot chile: if you are using the pure kind, cut the quantity to about a teaspoon and add ½ tsp each of extra cumin, oregano and garlic powder.
Questions, answered
What is enchilada sauce made of?
Traditionally: dried red chiles (guajillo and ancho), charred onion and garlic, broth, cumin, oregano, a little vinegar and salt — a chile purée, with the chiles as the ingredient rather than the seasoning. Quick American versions instead build on chili powder with a flour-and-oil roux and tomato paste, which is a different but perfectly good sauce.
How do I make enchilada sauce without chili powder?
This recipe is exactly that: toast whole dried guajillo and ancho chiles, soak them in hot broth for 20 minutes, blend with charred onion and garlic, strain, then fry the purée in hot oil and simmer 10 minutes. It takes about 25 minutes of mostly-waiting and tastes markedly better than any powder-based version.
Why is my enchilada sauce bitter?
You toasted the chiles too far. The window is 30–45 seconds a side over medium-low, until fragrant and pliable — anything that smokes or goes black is burnt, and that bitterness cannot be cooked or seasoned out. Seeds and veins left in add to it. A pinch of sugar plus salt masks a mild case; a badly burnt batch is worth restarting.
Why does my homemade enchilada sauce taste raw and thin?
You skipped the fry. After straining, pour the purée into a tablespoon of shimmering oil — it will sputter, darken from bright red to brick, and thicken. Two minutes of that plus a 10-minute simmer cooks off the raw vegetal edge and gives the sauce body. Simmering the purée gently without ever frying it does not achieve the same thing.
Do I have to strain enchilada sauce?
Yes, if you want the texture right. Chile skins never fully break down, so even a purée that looks smooth in the blender is faintly gritty on the tongue. Push it through a fine sieve with a ladle — two minutes, and it is the difference between homemade and restaurant.
How much sauce does one tray of enchiladas need?
About 2½ cups (600 ml) for 12 enchiladas, which is exactly what this recipe makes. Use ½ cup (120 ml) thinly on the base of the dish, most of the rest for dipping each tortilla, and only the remainder spooned over the top.
How long does enchilada sauce keep?
About a week refrigerated in a clean sealed jar, and 3 months frozen. Freeze it in an ice-cube tray and bag the cubes once solid — a couple of cubes is the right amount for eggs, rice or a burrito. Cool it within 2 hours of cooking and reheat gently, once.
Is enchilada sauce the same as taco sauce or salsa?
No. Enchilada sauce is a smooth, cooked chile purée meant to coat and be baked; taco sauce is thinner, tomato-forward and usually served cold; salsa is chunky and uncooked or lightly cooked. You can bake enchiladas in a thinned salsa in a pinch, but the texture and the way it clings will be different.
Is this enchilada sauce vegan?
Yes, made with vegetable broth — chiles, onion, garlic, oil and spices, with nothing else in it. Use it exactly as written; the flavour comes from the toasting and the fry, not from meat stock.
How spicy is it, and how do I change that?
As written it is mild — guajillo and ancho are both gentle chiles, and the seeds are removed. Add 1–2 chiles de árbol for a clear kick, or a chipotle in adobo for smoky heat. To go milder still, use all ancho. Heat is the easiest thing to adjust in this sauce and the hardest to take back out, so add it in stages.
Snap your finished plate and let the AI plate it again — more beautifully.