Sushi Rice Recipe (Perfect 1:1 Ratio, Any Batch Size)
The foundation of every roll, bowl and bake on a sushi table: Japanese short-grain rice cooked with less water than usual, seasoned hot with sweetened rice vinegar, and folded — never stirred — until every grain is glossy and distinct. Sushi chefs call great sushi mostly a rice achievement; this page is the technique, the ratios and the science.
Ingredients
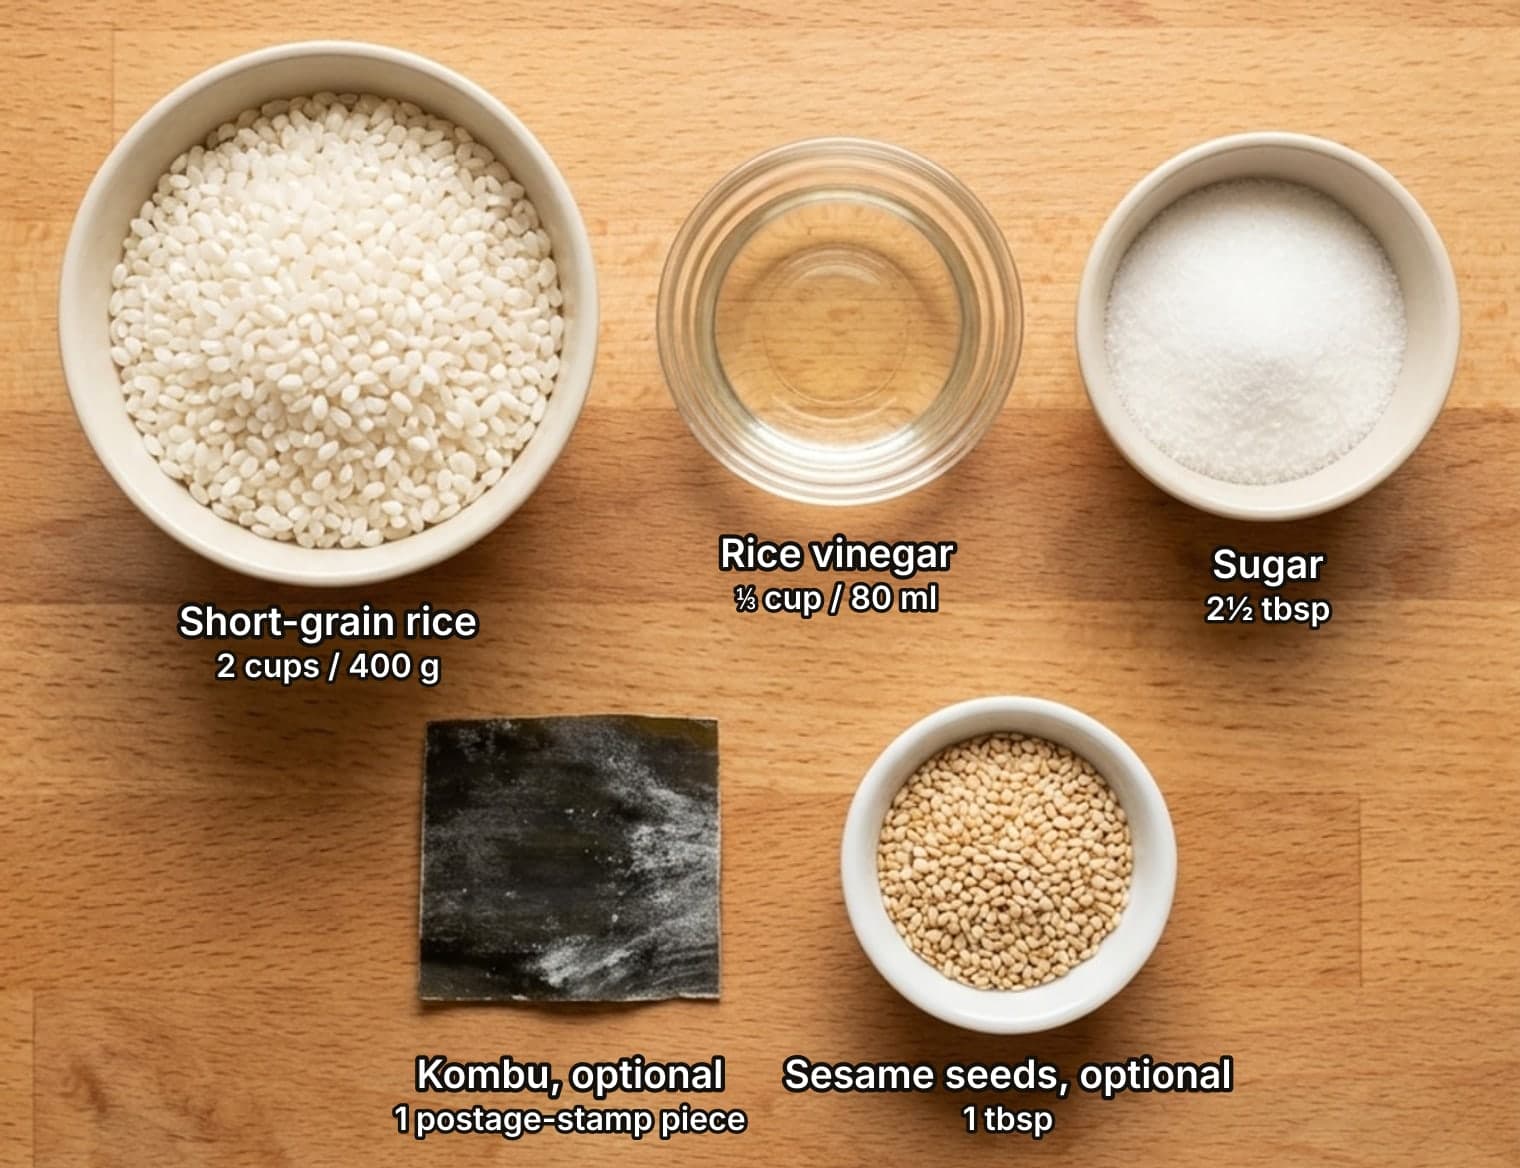
- Japanese short-grain rice (sold as “sushi rice”)2 cups / 400 g
- water2 cups / 475 ml (+ 2 tbsp on the stovetop)
- rice vinegar (unseasoned)⅓ cup / 80 ml
- sugar2½ tbsp
- fine salt1¼ tsp
- kombu (optional, steeped in the warm vinegar)1 postage-stamp piece
- toasted sesame seeds (optional, to finish)1 tbsp
The ratios, every batch size
The two numbers that matter: water is 1:1 by volume (less than plain rice), and the seasoning runs roughly 4 parts rice vinegar to 2 parts sugar to 1 part salt. Why less water? Because the rice is about to drink a second liquid — the vinegar — after cooking. Cook it with normal-rice water and the finished, seasoned rice lands mushy; cook it slightly firm and the vinegar carries it to perfect.
Hand-rounded tiers, since seasoning scales don’t survive blind multiplication: 1 cup (200 g) rice — 1 cup (240 ml) water, 2½ tbsp rice vinegar, 4 tsp sugar, ⅔ tsp salt.
2 cups (400 g) rice — 2 cups (475 ml) water, ⅓ cup (80 ml) vinegar, 2½ tbsp sugar, 1¼ tsp salt. This is the batch on this page.
3 cups (600 g) rice — 3 cups (710 ml) water, ½ cup (120 ml) vinegar, ¼ cup (50 g) sugar, 2 tsp salt.
4 cups (800 g) rice — 4 cups (950 ml) water, ⅔ cup (160 ml) vinegar, ⅓ cup (65 g) sugar, 2½ tsp salt.
Taste lives in that sugar number: Tokyo-style shari runs leaner, Osaka and most Western sushi bars sweeter. Once you’ve made it twice, adjust the sugar a teaspoon at a time toward the sushi you actually like — the vinegar and salt are the fixed stars.
How to make Sushi rice
- Choose the right grain. You need Japanese short-grain japonica — in European and American supermarkets it is simply labeled “sushi rice” (Koshihikari is the benchmark variety). Its high share of amylopectin starch is what makes grains cling without turning to paste. Jasmine, basmati and other long-grain rice cook dry and separate and will never hold a roll together; the substitution ladder for Europe is in the sections below.
- Rinse until nearly clear. Put 2 cups (400 g) of rice in a bowl, cover with cold water, swish with your fingers and pour off the cloudy water. Repeat 4–6 times until the water runs nearly clear — you are washing off loose surface starch that would otherwise cook into gum. Finish with a few seconds under running water in a sieve, which also flushes out broken grain fragments, a hidden cause of gluey rice.
- Soak, then cook with less water. Soak the rinsed rice in its cooking water for 20–30 minutes — the grains hydrate evenly to the core. The ratio is 1:1 by volume: 2 cups (475 ml) of water for 2 cups (400 g) of rice, noticeably less than for plain steamed rice. In a rice cooker, use the sushi setting. On the stove, add 2 extra tbsp of water for evaporation, bring to a boil covered, drop to the lowest heat for 12 minutes, then rest off the heat, lid closed, for 10 more. No peeking either phase.
- Make the awasezu. While the rice cooks, warm ⅓ cup (80 ml) of rice vinegar with 2½ tbsp of sugar and 1¼ tsp of fine salt, stirring just until dissolved — do not let it boil, which coarsens the aroma. A postage-stamp piece of kombu left to steep in the warm vinegar adds a quiet savory depth; fish it out before using. This seasoned vinegar is awasezu, and it is the difference between steamed rice and sushi rice.
- Season it hot. Turn the just-cooked rice out into a hangiri or your widest shallow dish — a big roasting dish works — and pour the vinegar over the flat side of a paddle or spatula so it rains evenly across the rice. Hot rice absorbs the seasoning evenly; rice that has cooled will only wear it on the surface, so this step happens the minute the rest ends.
- Cut, never stir. Fold with the paddle held at 45 degrees, slicing through the rice and lifting — like folding egg whites, not like stirring porridge. Stirring bruises the grains and releases starch, and the gloss you are after dies with it. Work to the corners, flip sections over, and stop as soon as no puddles of vinegar remain.
- Fan it glossy. Now fan the rice for a minute or two while giving it a few more gentle folds — a hand fan, a magazine, or a hairdryer on the cool setting all work. Fanning evaporates the surface moisture the vinegar brought in, and that evaporation is literally where the mirror shine on sushi-bar rice comes from. The rice is ready when it is glossy, around body temperature, and each grain sits distinct.
- Hold it under a damp towel. Sushi rice waits at room temperature under a clean, well-wrung damp towel — never in the refrigerator, which hardens it within hours (the science is in the sections below). Use it within about 4 hours. It should still be faintly warm when you roll with it; cold rice tears nori and fights the mat.
- Portion for the job. This 2-cup (400 g) batch makes about 6 cups (900 g) of seasoned rice — enough for 8 inside-out rolls at a scant ¾ cup (110 g) each, 4 generous rice bowls, or one 9×13 in (23×33 cm) sushi bake layer. Our California roll, sushi bake and onigiri pages below all start from this rice — though for onigiri you’ll skip the vinegar and cook the grain a touch softer, and that story is worth reading before you shape.
Safety & hygiene Important
- Rice runs on a clock. Cooked rice can carry Bacillus cereus spores that survive cooking, and their toxins survive reheating — the hazard is time at room temperature. Sushi rice buys some grace because vinegar lowers its pH, but a home batch isn’t lab-verified, so treat 4 hours on the counter (under that damp towel) as the limit, less on a hot day.
- Freeze leftovers, don’t chill them. The freezer, not the fridge, is the right home for leftover sushi rice: portion it flat in airtight bags while still slightly warm-to-cool, and freeze promptly. It skips the fridge-temperature zone where rice staling is fastest, and it parks the food-safety clock properly too.
- Bring it back gently, once. Thaw frozen rice covered at room temperature or warm it gently under a damp paper towel in the microwave until just steaming — once only, then use it. Twice-reheated rice is both sad and unwise.
- Hot vinegar, hot pan. Awasezu only needs to be warm enough to dissolve sugar — take it off the heat early. A boiling vinegar pan throws surprisingly sharp fumes at your eyes, and it makes the seasoning taste harsh into the bargain.
3 ways to plate it
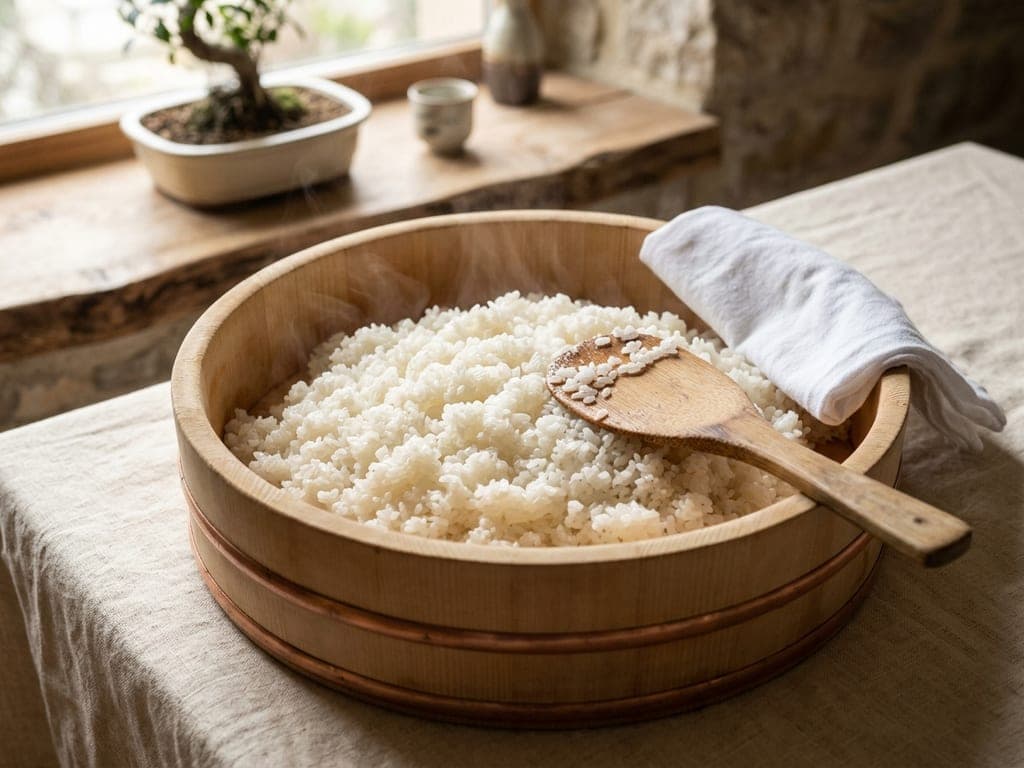
- Fan the seasoned rice glossy in the tub (or your widest wooden bowl) and level it loosely — never packed down.
- Rest the paddle in the rice with its handle over the rim, a few grains still clinging; it signals just-made in a way a clean paddle can’t.
- Drape a well-wrung damp cloth over one edge of the tub — it’s doing real work keeping the rice moist, and it reads exactly as deliberate as it is.
- Bring the tub to the table warm; the faint steam is part of the presentation and disappears in minutes.
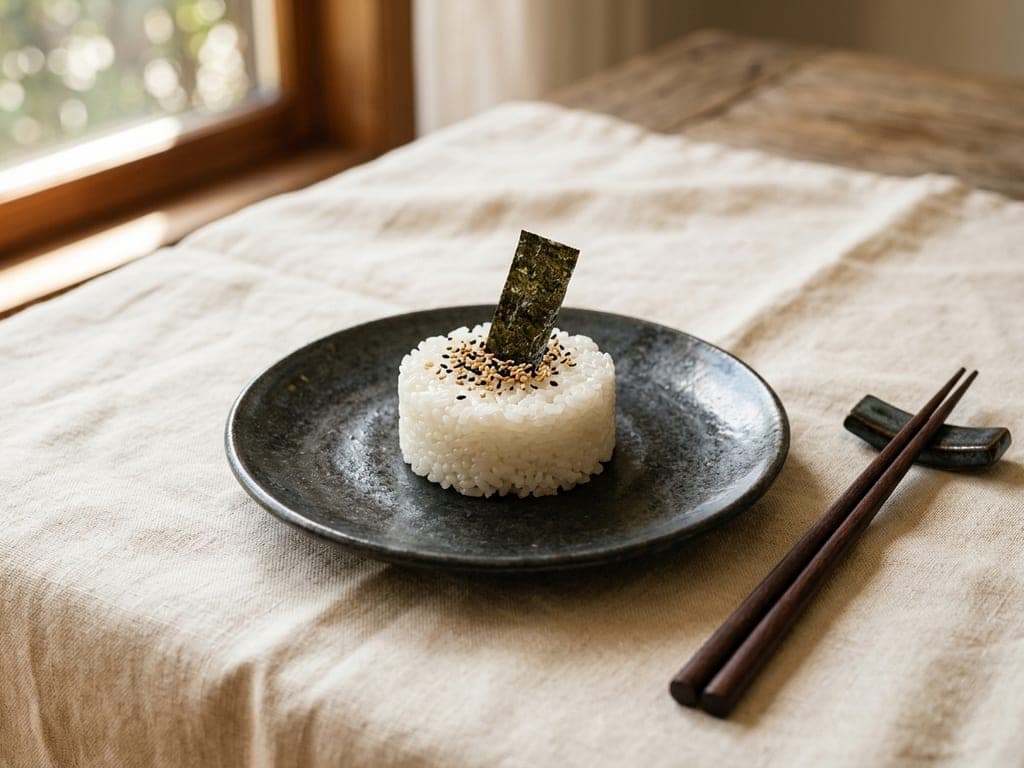
- Wet a small round mold or ramekin, pack it two-thirds with warm seasoned rice using gentle pressure, and turn it out with one confident tap.
- Choose the darkest plate you own — glossy white grains against black ceramic is the whole color story.
- Scatter a pinch of mixed black and white sesame dead-center on top, not across the plate.
- Stand one small rectangle of nori upright in the center at a slight angle, and set chopsticks on a rest beside — restraint is the luxury here.
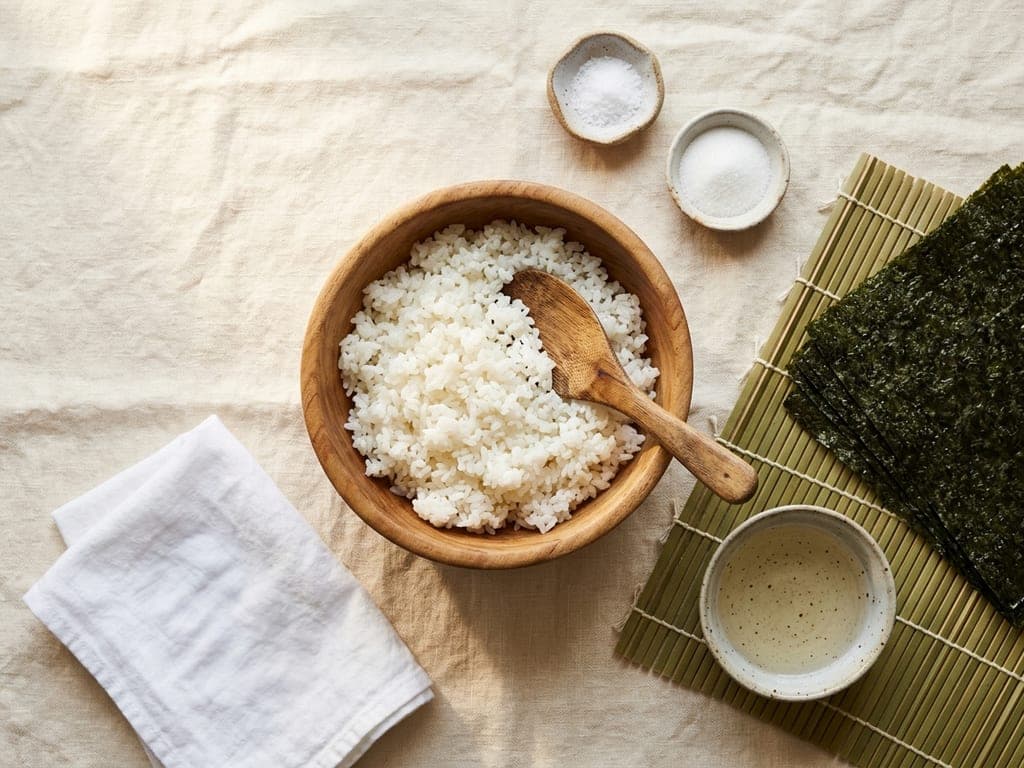
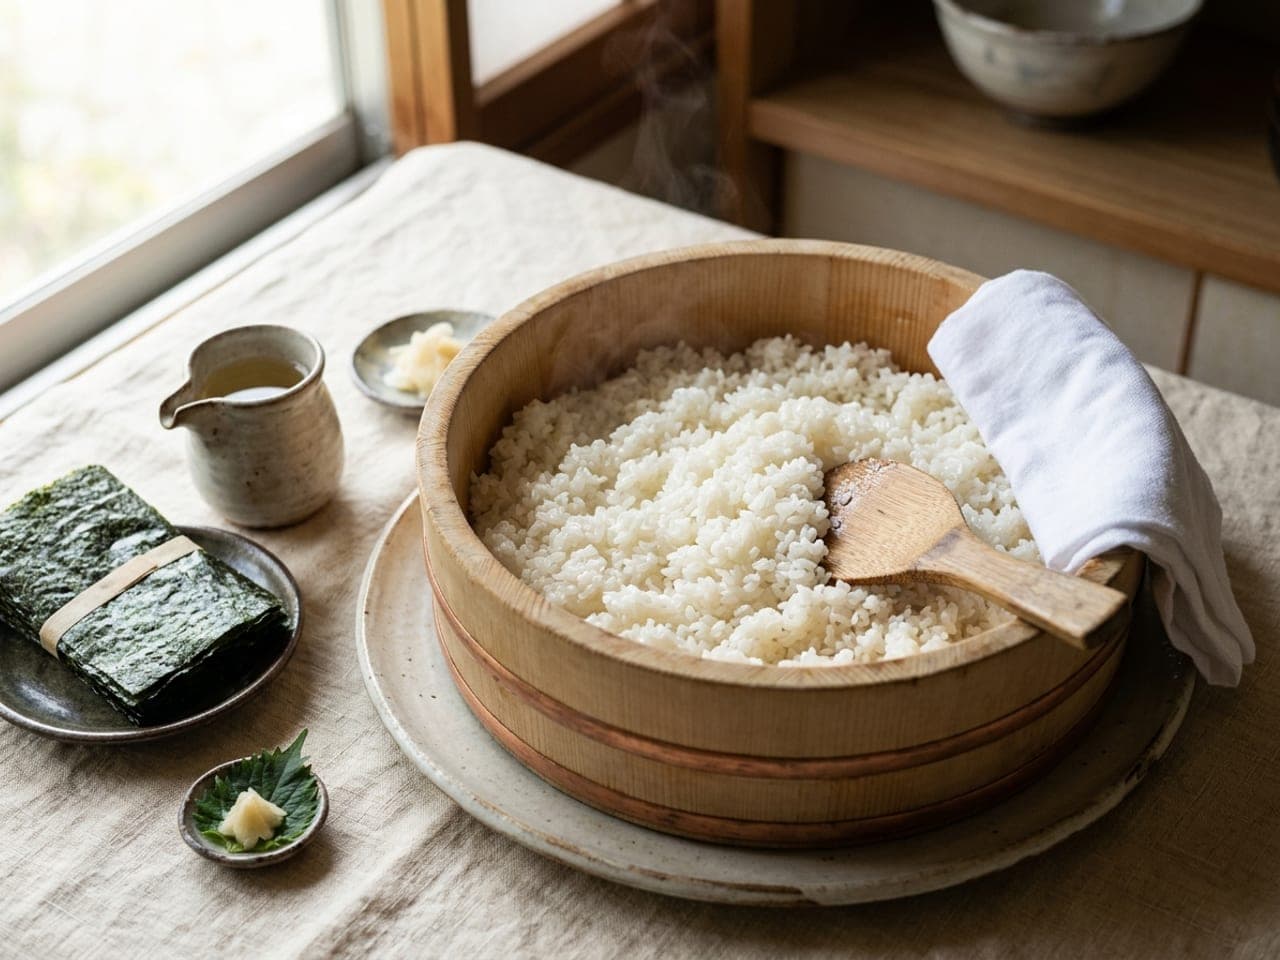
- Set the rice in a wooden bowl at the center with the paddle resting in it — everything else arranges around this hub.
- Fan the nori sheets on the rolling mat to one side; the loose geometry is what makes the spread read deliberate.
- Put the vinegar and the little dishes of salt and sugar in a loose arc — guests see the recipe’s whole grammar at a glance.
- Set a damp cloth at the edge: hands get sticky, and providing for that is part of the plating.
Never the fridge
Half the internet says refrigerate sushi rice for 3 days; Japanese sources say never refrigerate it at all. The science sides firmly with Japan. Cooked rice staling is retrogradation — gelatinized starch recrystallizing as it cools and squeezing its water out — and it runs fastest at refrigerator temperature: amylopectin recrystallizes quickest around 4°C (39°F), which is precisely where your fridge sits. That’s why refrigerated rice turns hard and chalky overnight while room-temperature rice stays tender for hours. The vinegar helps too: its acidity slows the staling and, in commercial settings, is the actual food-safety control for sushi rice held out of refrigeration.
So the playbook is: same day, hold at room temperature under a damp towel and use within about 4 hours; longer than that, freeze flat in portions — freezing races the rice through the staling danger zone instead of parking it there — and thaw gently back to body temperature before using. The refrigerator is the one place sushi rice should never sleep.
Vinegar rice built Edo’s fast food
Sushi began as preservation: narezushi, fish packed in fermenting rice for months, after which the soured rice was thrown away and only the fish eaten. The vinegar shortcut — seasoning fresh rice to taste fermented, so “sushi” could be made in an afternoon instead of a season — is credited to 17th-century Edo, where a physician named Matsumoto Yoshiichi is said to have sold vinegar-seasoned sushi rice around the 1670s — though food historians treat the attribution as more legend than record. The word sushi itself means “sour-tasting” — it describes the sourness of the seasoned rice, which is why the name belongs to the rice, not the fish on top.
Two more names finished the job. Around 1824, Hanaya Yohei opened a stall near Edo’s Ryōgoku Bridge and is credited with inventing nigiri — a pad of seasoned rice with fish pressed on top, served in seconds to a city in a hurry; sushi as fast food starts with him. And in 1804, the sake brewer Nakano Matazaemon (founder of what became Mizkan) turned sake lees into akazu, a mellow red vinegar cheap enough for every street stall — high-end Edomae counters still season their shari red with it today. When a famous New York sushi chef told a television audience that great sushi is 90 percent rice, he was compressing four centuries of this history into one sentence.
Buying sushi rice in Europe
The good news: every major European supermarket sells the right grain, labeled simply “sushi rice” (Yutaka is the common UK brand; Yume Nishiki is the premium Koshihikari-type, grown in northern Italy — much European “sushi rice” is Italian- or Spanish-grown japonica, and it’s excellent). Rice vinegar sits in the world-food aisle for a couple of pounds or euros. One label trap: bottles sold as “seasoned rice vinegar” or “sushi seasoning” already contain the sugar and salt — if that’s what you have, skip both from the recipe or you’ll double-season.
The substitution ladder, honestly ranked: any bag labeled sushi rice → Korean short-grain → Calrose-style medium grain (the standard California fallback — fine, if less fragrant) → and in a true emergency, round pudding rice (Milchreis), which binds but cooks softer than it should. Arborio and paella rice are the tempting wrong answers: arborio is bred to slough starch into a creamy sauce and bomba to stay loose in paella — both the opposite of clean, glossy, clinging grains. And jasmine or basmati aren’t substitutes at all; they’re a different dish waiting to happen.
Questions, answered
What is the sushi rice ratio?
Water: 1:1 by volume — 1 cup (240 ml) of water per 1 cup (200 g) of short-grain rice, less than plain steamed rice because the vinegar adds liquid after cooking. Seasoning: about 4 parts rice vinegar to 2 parts sugar to 1 part salt — for 2 cups (400 g) of rice that’s ⅓ cup (80 ml) vinegar, 2½ tbsp sugar and 1¼ tsp salt. Hand-rounded tiers for 1–4 cups (200–800 g) are in the sections above.
Can I use jasmine or basmati rice for sushi?
No. Long-grain rice is high in amylose, so it cooks dry and separate — the grains won’t cling, rolls fall apart and nigiri crumbles. You need short-grain japonica sold as sushi rice; in a pinch, Korean short-grain or Calrose-style medium grain, never jasmine or basmati.
Is Calrose rice sushi rice?
Close enough to work. Calrose is California-grown medium-grain japonica — it isn’t what sushi chefs in Japan use, but it binds properly and has fed American sushi bars for decades. If the shelf offers both, take the bag labeled sushi rice; if Calrose is what you have, proceed happily.
Can I skip the vinegar seasoning?
Then you have steamed rice, not sushi rice — the word sushi literally means “sour-tasting” and names the vinegared rice itself. The seasoning is also functional: the acidity slows staling and is the traditional reason sushi rice keeps safely at room temperature through a service. If you want unseasoned rice balls, that’s a different (and wonderful) dish — see our onigiri recipe.
No rice vinegar — what can I substitute?
Diluted apple cider vinegar is the least-bad stand-in (it’s fruitier), or white vinegar softened with an extra pinch of sugar. Avoid malt and red wine vinegar entirely — they steamroll the rice. But rice vinegar costs little and keeps for years; if sushi is entering your rotation, just buy the bottle.
How far ahead can I make sushi rice?
Same day only for rolling: hold it at room temperature under a damp towel and use within about 4 hours — it should still be faintly warm when you shape it. For longer, freeze it flat in airtight portions and thaw gently back to room temperature. The refrigerator is the one wrong answer: rice staling runs fastest at fridge temperature, and it will be hard by morning.
Why is my sushi rice mushy or gummy?
One of four culprits: too much water (the ratio is 1:1, less than plain rice), under-rinsing (surface starch cooks into glue), stirring instead of cut-and-fold seasoning, or seasoning rice that had gone cold so the vinegar sat on the surface. Fix those and the same bag of rice turns glossy and distinct.
Do I need a hangiri (wooden tub)?
No. The hinoki tub is lovely — the wood drinks excess moisture — but any wide, shallow vessel does the job: a roasting dish, a big baking dish, even a rimmed sheet pan. What matters is surface area for fast evaporation, a paddle used in cutting strokes, and a minute of fanning. Wet the vessel and paddle first so the rice doesn’t stick.
Is sushi rice gluten-free?
Yes — rice and true rice vinegar are naturally gluten-free, and sugar and salt obviously are. The things to check are pre-seasoned “sushi vinegar” bottles (occasional additives) and everything you serve with the rice: standard soy sauce contains wheat, so a gluten-free table swaps in tamari.
How much sushi rice per person?
Plan on 1 cup (200 g) of dry rice for every 2 people — it cooks and seasons up to about 3 cups (450 g), which is 4 inside-out rolls at a scant ¾ cup (110 g) each, or 2 rice bowls. The full 2-cup (400 g) batch on this page feeds 4 as rolls with a side, or lines one 9×13 in (23×33 cm) sushi bake.
Snap your finished plate and let the AI plate it again — more beautifully.