Smash Burger Recipe (Cast Iron, Crispy Edges)
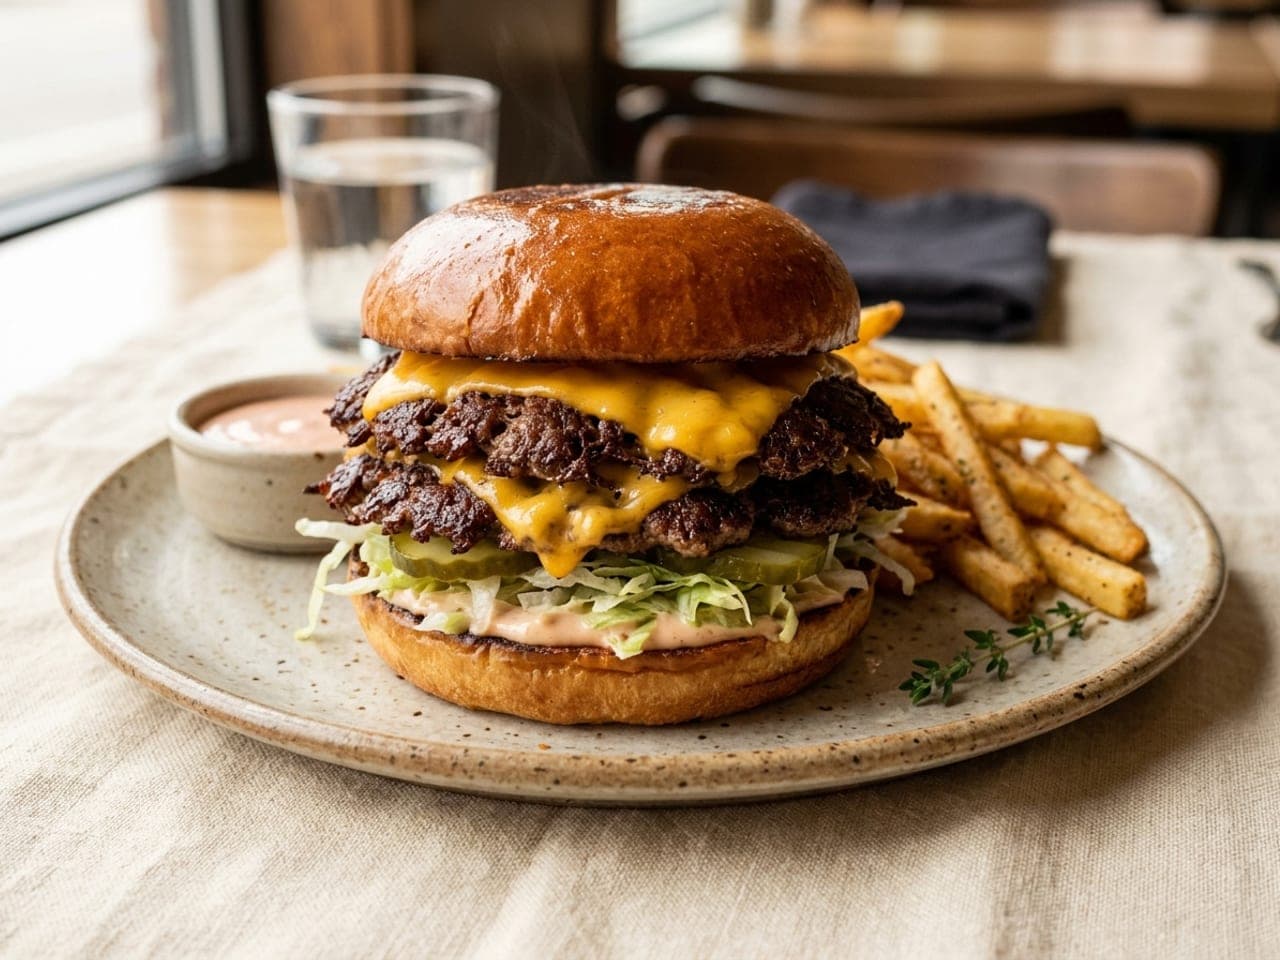
The burger-shop double at home: cold beef balls smashed hard onto ripping-hot cast iron, so nearly every bite is lacy, deep-brown crust. One smash, ninety seconds a side at most, American cheese, potato roll — done.
Ingredients
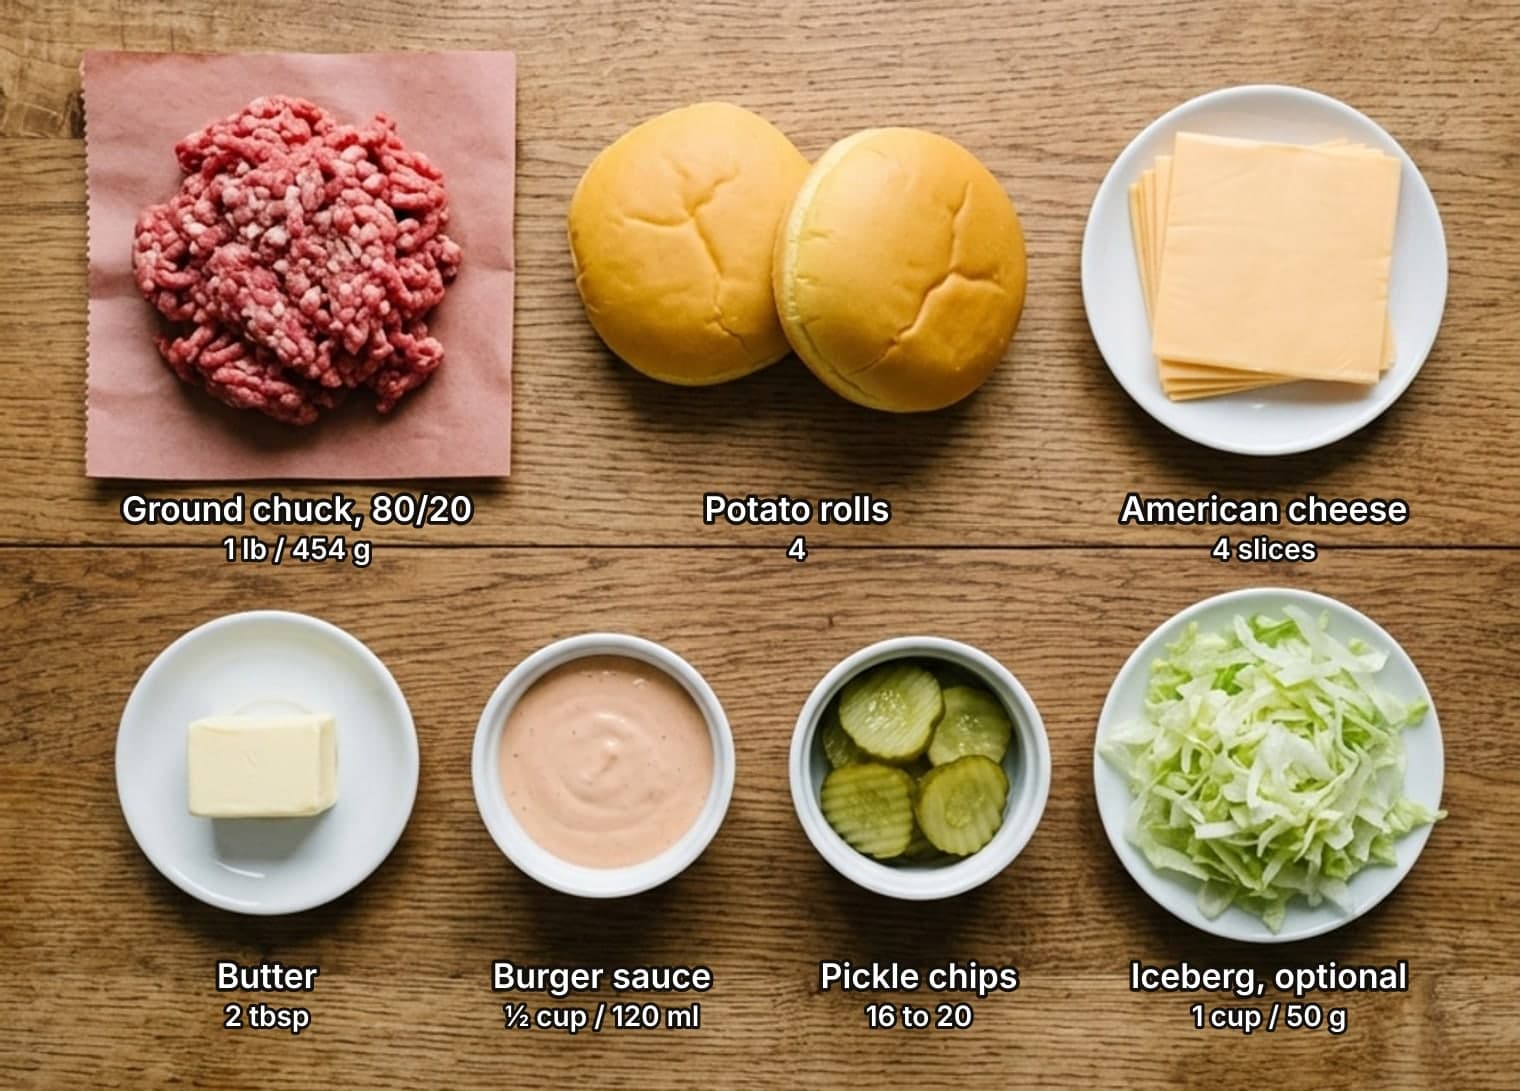
- ground chuck, 80/20 (beef mince with 20% fat), fresh-ground if possible1 lb / 454 g
- soft potato rolls (or the softest white burger buns you can find)4
- American cheese slices (sold as burger slices in Europe)4
- kosher (coarse) salt and black peppergenerous
- butter, for toasting the buns2 tbsp
- smash burger sauce (see linked recipe)½ cup / 120 ml
- dill pickle chips (sliced dill gherkins)16–20
- shredded iceberg or thin-sliced onion (optional)1 cup / 50 g
Why this recipe works
Smashing is controlled cheating: you flatten a cold, raw ball in the first 30 seconds, while the fat is still solid and there are no juices to lose — gaining a huge area of meat pressed hard against hot metal, which is exactly what the Maillard reaction wants. Press a burger any later, once proteins have tightened and the juices have rendered liquid, and you squeeze it dry. That is the grain of truth in the old “never press a burger” rule, and why a smash burger gets exactly one smash.
Two 2-oz (57 g) patties beat one 4-oz (113 g) patty because a burger this thin is all about crust, and splitting the same beef doubles the crust area. The cheese between them isn’t decoration either — melted from both sides in seconds, it glues the stack and puts fat and moisture back into patties that are well-done by definition.
The pan stays dry and the sticking is deliberate: those weld points are where the crust forms, and the 80/20 chuck renders all the lubrication needed. Season after the smash, not into the meat — salt worked through ground beef cross-links the proteins and turns a tender patty springy, like sausage.
How to make Smash burger
- Dress the buns first. Everything waits for the patties — the patties wait for nothing. Toast 4 potato rolls cut-side down in a little butter until golden, 1–2 minutes, then dress the bottoms: a spoonful of burger sauce, pickle chips, shredded lettuce or thin onion if you like. Line them up next to the stove.
- Portion the beef. Divide 1 lb (454 g) of 80/20 ground chuck into eight 2-oz (57 g) balls for four double burgers — a scale keeps them even. Roll them loosely; unlike thick burgers you can work these a little so they hold together. Keep them in the fridge until the pan is ready: cold fat is what makes the smash work.
- Heat the pan — really heat it. Set a cast-iron skillet or griddle over high heat for a good 5 minutes, until a drop of water skitters and vanishes on contact and you see the first wisp of smoke — that is roughly 450–500°F (232–260°C), and it is the temperature the crust needs. No oil: the pan stays dry on purpose. Turn the vent fan on now, not later.
- Smash within 30 seconds. Drop in 2–4 balls, well apart, and immediately smash each one flat and hard — a stiff metal spatula pressed with a second spatula’s handle, or a burger press, with a small square of parchment between smasher and beef so nothing sticks. Aim for ¼ inch (6 mm) thin, a touch wider than the bun, edges almost lacy. You get one smash, in the first 30 seconds, while the fat is still cold — that is the whole trick.
- Season and leave alone. Sprinkle the smashed patties generously with kosher salt and black pepper, then don’t touch them. Give the pan 45–90 seconds: the edges go deep brown and lacy and juices start pooling on the pale top. Sticking is not a problem — it is the crust forming.
- The scrape-flip. Get the whole sharpened edge of a stiff, non-slotted spatula (a bench scraper works even better) flat against the pan and scrape hard under each patty, taking every bit of crust with you, then flip. If half the crust stays behind, the tool was wrong — never the pan.
- Cheese and stack. Lay a slice of American cheese on one patty of each pair the moment it’s flipped, and stack the second patty straight on top of the cheese. Squeezed between two hot patties it melts in seconds and glues the stack together. The second side needs less than a minute.
- Serve immediately. Slide each double stack onto its waiting bun and eat while the crust still crackles — a smash burger’s peak lasts about five minutes. Cooking for a crowd: run batches and hand burgers over as they land; nobody waits politely for a smash burger, and they shouldn’t.
Safety & hygiene Important
- Doneness, honestly. Ground beef is safe at 160°F (71°C) per the USDA — and unlike steak there is no medium-rare exception, because grinding mixes surface bacteria through the meat. A ¼-inch (6 mm) patty is too thin to thermometer, but it is also well-done by definition: on a 450°F+ (232°C+) surface it passes 160°F (71°C) within its 60–90-second sear. Check by eye — no pink anywhere, deep brown lacy edges, juices running clear.
- No nonstick pans. PTFE nonstick coatings start degrading above roughly 450°F (230°C) — below smash-burger operating temperature — and the release surface prevents the stick-and-scrape that builds the crust anyway. Cast iron, carbon steel or stainless only. Cast-iron seasoning smoking a little at these temperatures is normal; a nonstick pan at these temperatures is not.
- Smoke and spatter. A dry, ripping-hot pan with rendering beef fat will smoke and spit. Vent fan on before the first ball lands, long-handled spatula, and never add water to the hot fat. If your kitchen ventilation is weak, the best move is a cast-iron skillet on the grill’s side burner outdoors — same recipe, zero smoke alarms.
- Raw beef handling. Keep the balls refrigerated until the moment they hit the pan — a food-safety rule and a texture rule in one, since cold solid fat is what survives the smash. Wash hands and tools after portioning, and give the finished, empty pan a minute off heat before moving it: the handle is as hot as the cooking surface.
3 ways to plate it
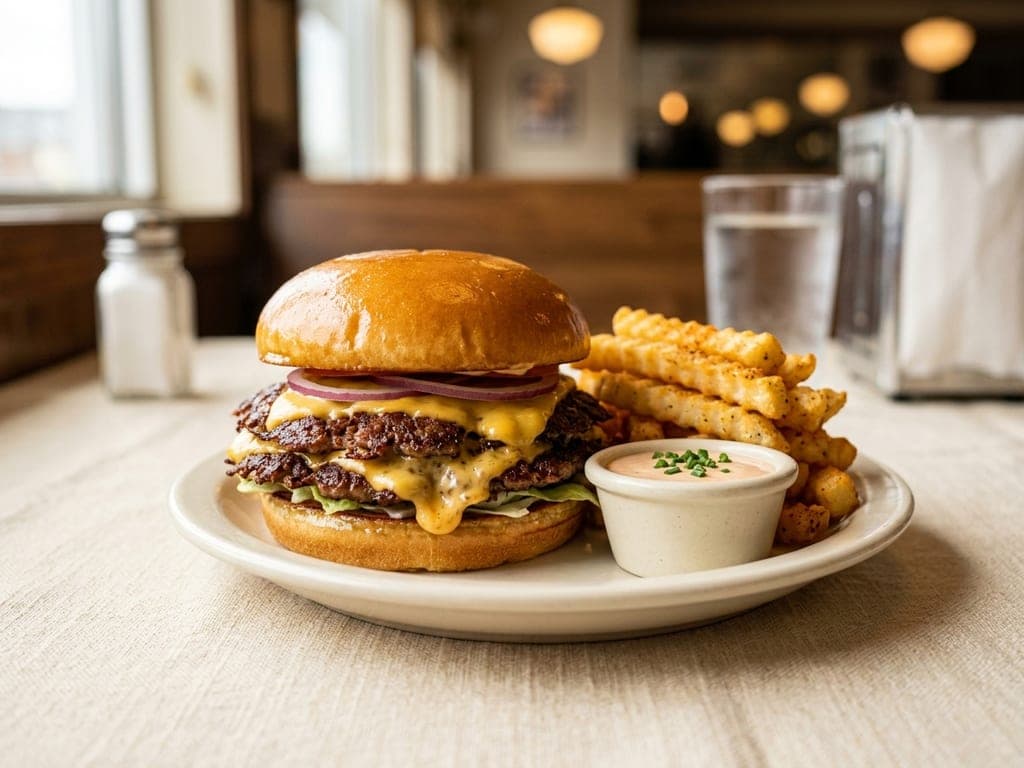
- Center the burger on a plate small enough that it looks generous — a big plate makes even a double look lonely.
- Stack the fries in a neat criss-cross pile beside it rather than scattering them; height reads as abundance.
- Fill a tiny ramekin with burger sauce and set it at the plate’s edge, a fry’s reach from the pile.
- Wipe the rim and serve within five minutes — the crackle window is the whole show.
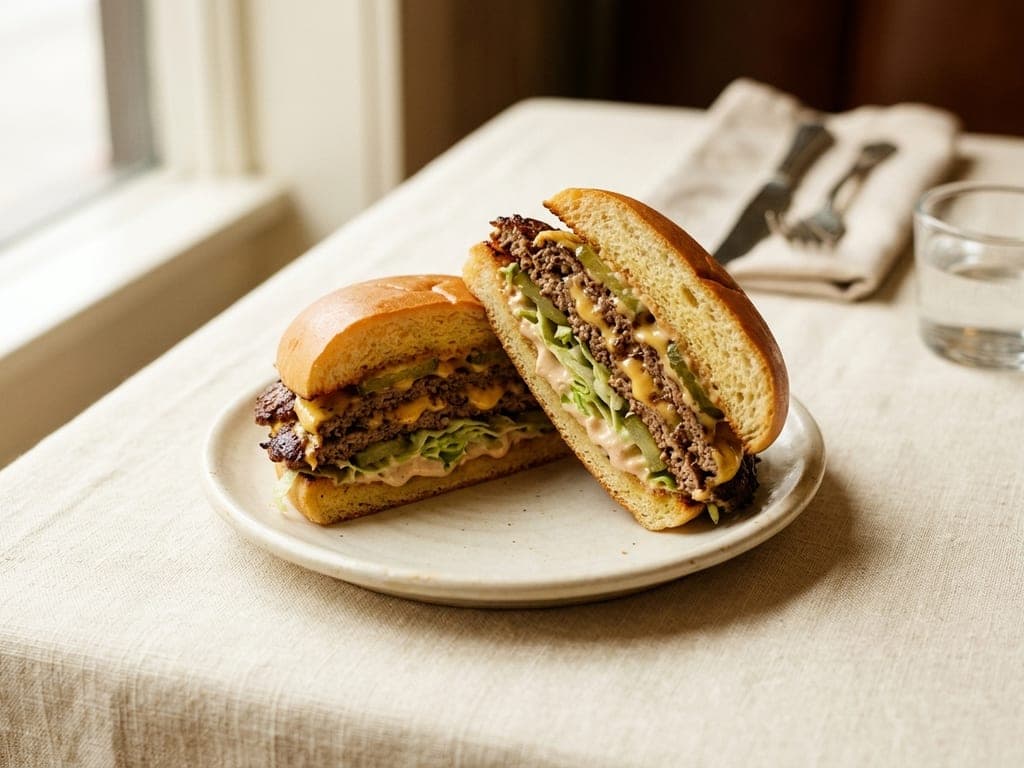
- Let the built burger rest one minute so the cheese sets slightly, then cut straight down with a sharp, non-serrated knife in one confident stroke.
- Lay one half flat, cut face toward the eater, and lean the second half against it at an angle, cut face the same way.
- Let any sauce that escapes stay where it lands — a small smear under the cut reads as appetite, a puddle reads as mess; wipe only the rim.
- Serve the good side facing the table. The layers are the garnish.
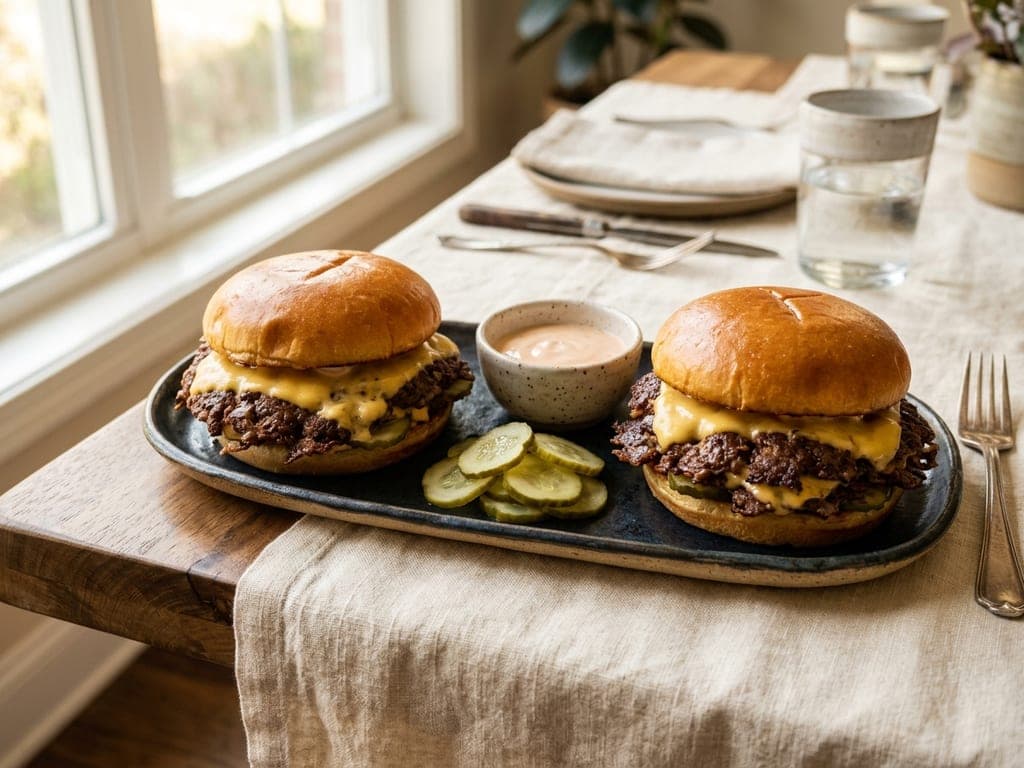
- Choose a long platter or board and set the burgers on the diagonal, one toward each end, facing opposite directions.
- Pile pickle chips loosely in the space between them — straight from the jar, drained, no fanning.
- Add a small bowl of burger sauce beside the pickles, spoon in, for dipping and re-saucing.
- Carry the whole board to the table hot; assembly happens in the kitchen, the show happens at the table.
The heat, honestly
Recipes for this burger split between a vague “medium-high” that steams gray patties and restaurant advice of 600–700°F (315–370°C) that ends with your smoke alarm running the kitchen. The workable home target is 450–500°F (232–260°C) in cast iron: five minutes over high heat, water-drop test skittering, first wisp of smoke. Hot enough for a lacy crust in about a minute a side, not so hot that the kitchen fills before batch two.
At that temperature, expect 45–90 seconds on the first side and under a minute after the flip. If your patties need three minutes a side to brown, the pan started too cool — the timing is a thermometer.
No cast iron? Carbon steel and stainless both work (a straight-sided stainless sauté pan also catches spatter). On a gas grill, set the skillet or a griddle plate on the grates, lid down, 10–15 minutes — it is the same recipe with free ventilation.
Troubleshooting
The patty stuck and tore: your spatula, not your pan. A slotted or flexible flipper leaves crust behind — use a stiff metal spatula or a bench scraper, get the whole edge under, and scrape with intent.
No crust, gray steamed meat: the pan wasn’t hot enough, or it was oiled. Dry pan, full preheat, and don’t crowd — every cold ball drops the surface temperature.
Dry hockey puck: smashed too late (after the juices liquefied), pressed a second time, or lean beef. Smash once, immediately, and stay at 80/20 — leaner grinds have nothing to render.
Springy, sausage-like texture: salt was mixed into the meat instead of sprinkled on after the smash.
Cheese won’t melt before the patty overcooks: that’s the aged cheddar’s fault, not yours. American cheese exists for exactly this ninety-second window.
Weeknight shortcut: the same technique works as four 4-oz (113 g) singles — smash slightly less thin, give each side about 2 minutes, one slice of cheese. Less crust per bite, one fewer round of flipping.
Questions, answered
What is the secret to smash burgers?
Cold 80/20 beef balls on a bare, properly hot surface — 450–500°F (232–260°C) — one hard smash within the first 30 seconds, then hands off until the edges are lacy and brown. Maximum metal contact means maximum crust, and the crust is the burger.
What makes a smash burger different from a regular burger?
A regular patty is shaped before cooking and handled gently to keep a juicy pink center. A smash burger is a ball flattened on the cooking surface, trading the pink center for a thin, all-crust, well-done patty — and it cooks in about two minutes instead of ten.
What are the most common smash burger mistakes?
Smashing too late (once juices flow, pressing squeezes them out), pressing a second time, a pan that isn’t hot enough, an oiled pan, a flimsy or slotted spatula that leaves the crust behind, and overcrowding, which drops the pan’s temperature.
What is the best seasoning for smash burgers?
Kosher salt and black pepper, sprinkled on after the smash — not mixed into the meat, which turns the texture springy. The burger’s flavor engine is the browned crust, the American cheese, the sauce and the pickles; garlic powder is the only common extra.
Why do you only smash once, at the beginning?
In the first 30 seconds the fat is still cold and solid, so pressing loses nothing while gaining crust area. After that, the juices have rendered liquid and pressing pumps them out — that’s the moment the old “never press a burger” rule is actually about.
Why put parchment paper on the burger before smashing?
Raw beef sticks to the press or spatula and tears when you lift it. A small parchment square between smasher and meat releases cleanly and doesn’t affect the browning underneath. Two bare spatulas work too — parchment just makes it foolproof.
Can I make smash burgers in a nonstick pan?
No. Nonstick coatings degrade above about 450°F (230°C), which is below smash-burger temperature, and the release surface prevents the deliberate sticking that builds the crust. Cast iron, carbon steel or stainless.
Can I make smash burgers on a grill?
Not on the grates — thin smashed beef falls through and there’s no flat contact for the crust. Set a cast-iron skillet or griddle plate on the grill and preheat lid-down for 10–15 minutes. Outdoors is actually the best venue: same crust, no smoke in the kitchen.
What is the best beef for smash burgers?
Fresh-ground chuck at 80/20. The fat is flavor, juiciness and pan lubrication in one. Never go leaner; upgrading means grinding in short rib or brisket — burger-shop blends run up to 25% fat — not buying 90/10.
Snap your finished plate and let the AI plate it again — more beautifully.